
Support Site
If you need additional support, please reach out to us at support@sessionaid.com.
(Please do not include any PHI in support inquiries.)
Getting Started
Recording Sessions & Dictations/Written Notes
Working with Notes & Sessions
Deleting Notes, Sessions & Clients
Using Custom Templates
Payment & Subscription
Security & Technical
Account Management
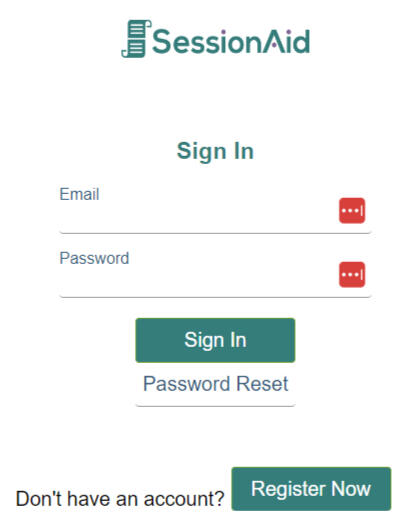
Registering & Signing In
1) To create your account select “Register Now”
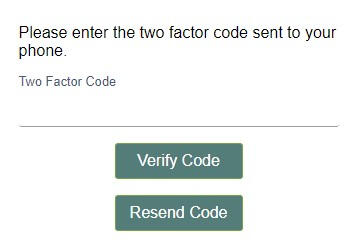
2) Follow directions on next screen to receive and enter your verification code.
3) Complete your details.
Password: Make sure to create a unique strong password that only you know that contains at least 12 characters with 1 special character, 1 uppercase and 1 lowercase letter.Mobile Phone: This is for 2 Factor Authentication (“2FA”) for security reasons.License Number: Enter your professional license number here. We only require one state.Terms of Services and Privacy Policy: Please read these prior to accepting and signing up.Click “Sign Up”
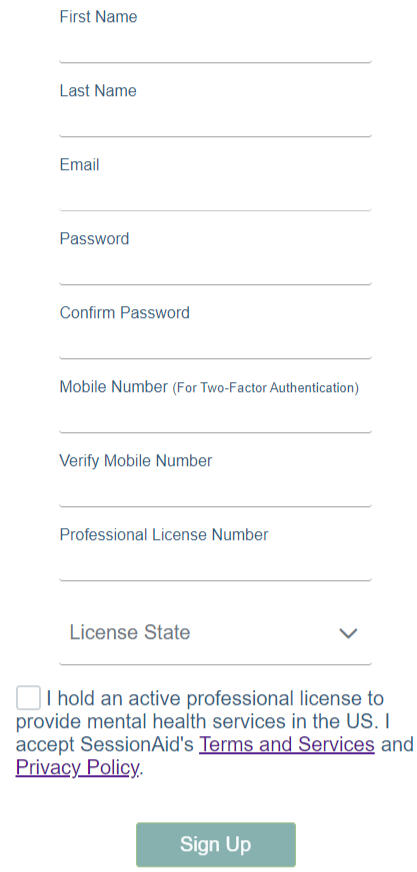
4) You are now ready to Sign In with your email and password
5) For added security you will also need to input the code that was texted to you and press Verify Code to gain access to your account. If you don’t get the code, click resend to have it sent to you again.
6) When you login, you will notice a message you need to sign a Business Associate Agreement (BAA) for HIPAA. Click the link and follow the directions for reviewing and signing the BAA. If you have any questions, feel free to reach out to us at support (at) sessionaid.com
7) Licenses are verified as SessionAid is only available to licensed mental health professionals in the US.
Add/Select Clients for a New Session
Add new clients to SessionAid
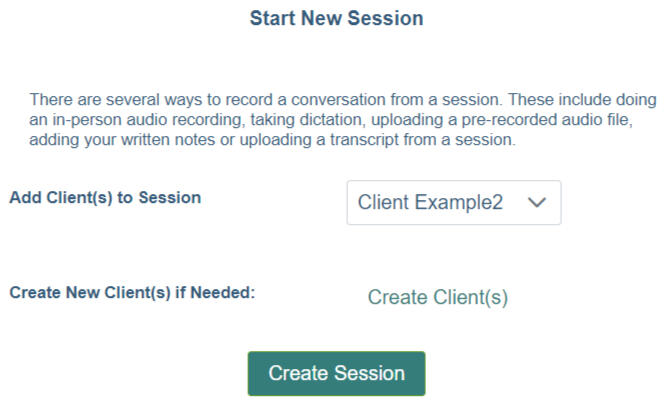
1. Click “Create Client(s)”
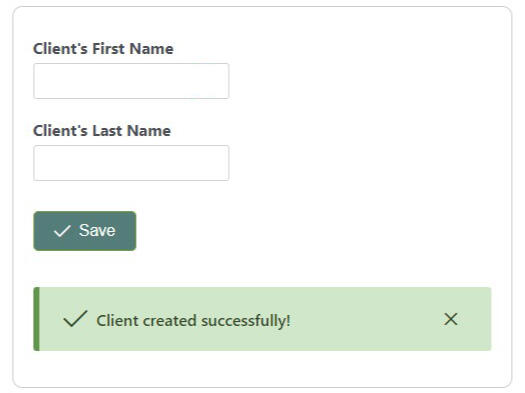
2. Enter First and Last Name or initials if you prefer. (Note: This requires unique names or initials.)
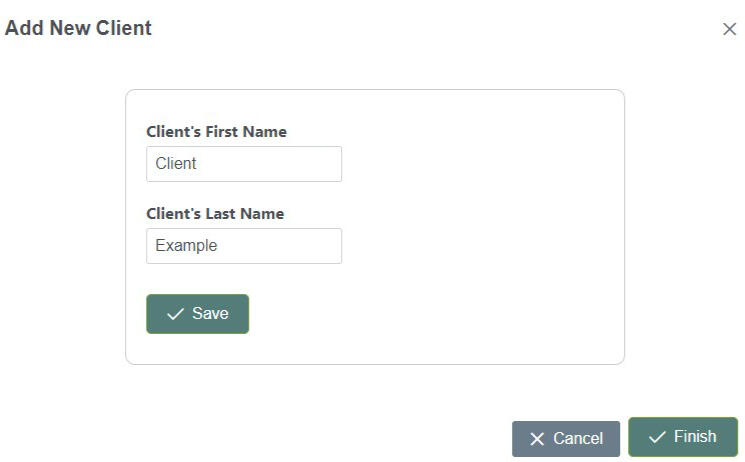
3. Hit Save
4. If you’d like to add another client repeat steps 2 and 3,, otherwise go to Step 5
(You can add as many as you like at once.)
5. You will see a list of everyone you’ve added
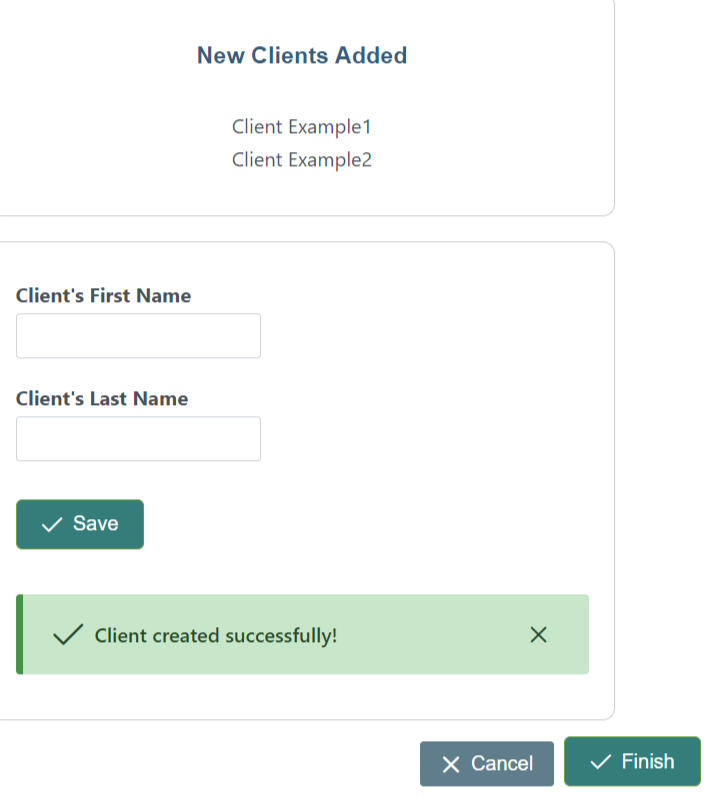
6. Click Finish and you will be taken back to the previous screen.Tip: You only need to do this once, a client will be saved for future sessions.
If you previously added clients to SessionAid
1. Select the client(s) you will be recording in a session, uploading audio/transcription, typing or pasting a transcript/written notes or recording a dictation.Tip: As the therapist, you are always automatically added to sessions when recording or uploading transcripts/audio.
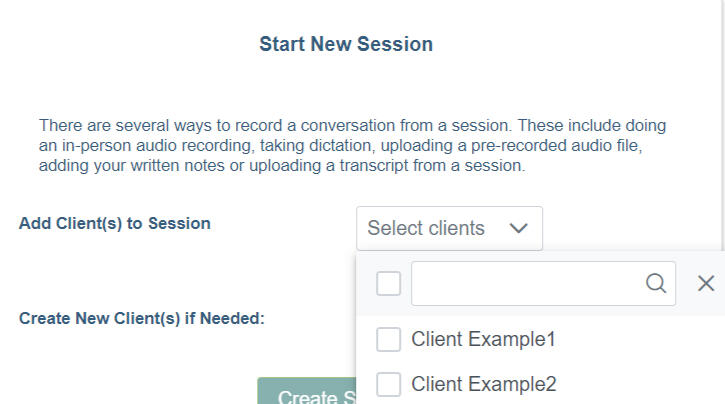
2. The list is alphabetical and there is also a search functionality if your client list is long.
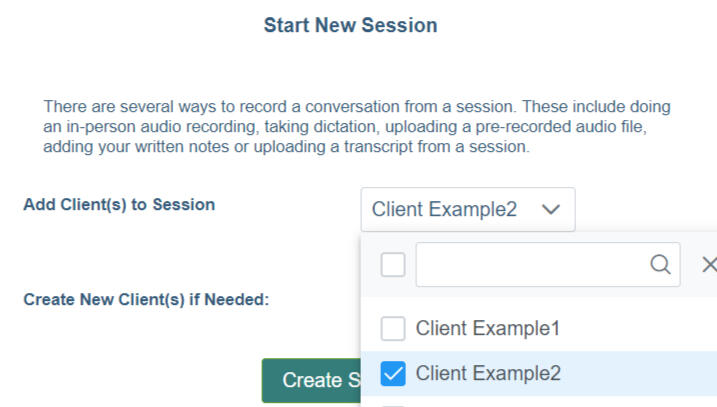
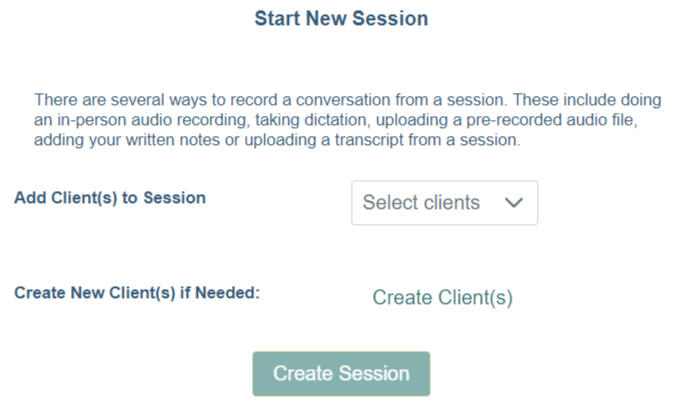
How to Start a New Session
Remember to get consent from your clients before recording.1. Login (If you already logged in, click the logo in the top right to return to the home screen.)
2. Select clients from the pulldown menu you'd like to add to the session.Tip: As the therapist, you are always automatically added to sessions when recording or uploading transcripts/audio.
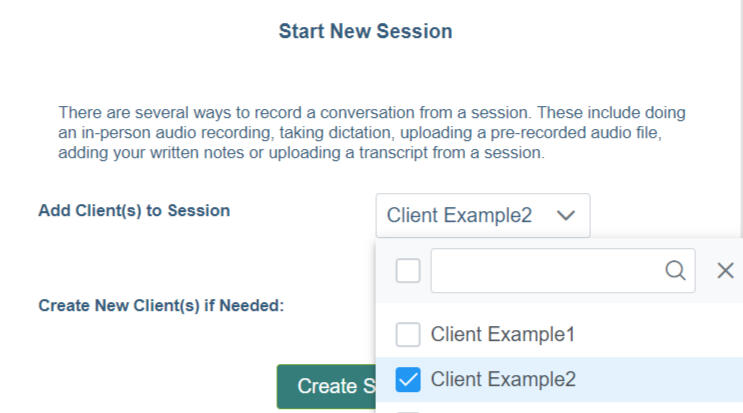
3. Click Create a Session to get started.
Recording In-person Sessions
Need directions for telehealth sessions? Go to the next section
This method of recording uses the built in SessionAid Recorder (the microphone icon)
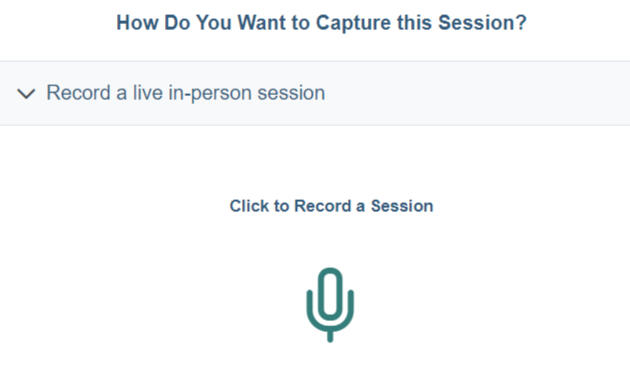
1. Set up your microphone. You will need to place the microphone (or device) as close to the center between your client(s) and yourself to capture the best audio.Tips: For best results, we recommend a multidirectional conference style microphone that plugs straight into your device.If you don’t have one, the built-in microphone for your phone, tablet or laptop (make sure meets your HIPAA device policy) will work but do realize the quality may be inferior to a dedicated mic and may cause lower quality results. You may want to consider using 2 microphones with a splitter if you have a larger room.
2. Once the mic is tested and set up, hit the record button. The microphone icon will turn to a red square to indicate the recording has begun. A timer indicating how long the recording has lasted will also start.
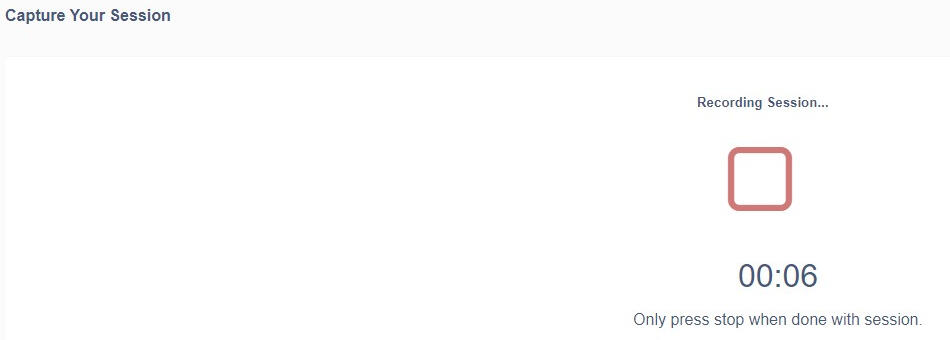
3. When you are done with your session, click the red square. The recording will stop and the file will begin to be uploaded to the server for processing.
Make sure to stay on this page until “Do Not Exit. Uploading Recording” is no longer on the screen or you will lose your recording of the session.

*TIP: You can start a new session even before the other upload has completed processing. *SessionAid is designed for therapy related conversations. Other types of conversations may return unpredictable results.
Recording Dictations
This method of recording uses the the built in SessionAid Recorder (the microphone icon)
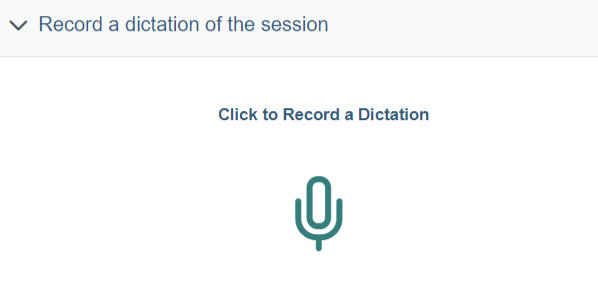
1. Sit close enough to your device so you the audio is high quality when recording.
2. Once the mic is tested and set up, hit the record button. The microphone icon will turn to a red square to indicate the recording has begun. A timer indicating how long the recording has lasted will also start.
3. When you are done with your session, click the red square. The recording will stop and the file will begin to be uploaded to the server for processing.
Make sure to stay on this page until “Do Not Exit. Uploading Recording” is no longer on the screen or you will lose your recording of the session.

*TIP: You can start a new session even before the other upload has completed processing. *SessionAid is designed for therapy related conversations. Other types of conversations may return unpredictable results.
Pasting or Typing Written Notes or Transcripts
1. In addition to uploads described in other sections, SessionAid allows you to paste or type directly in your web browser.
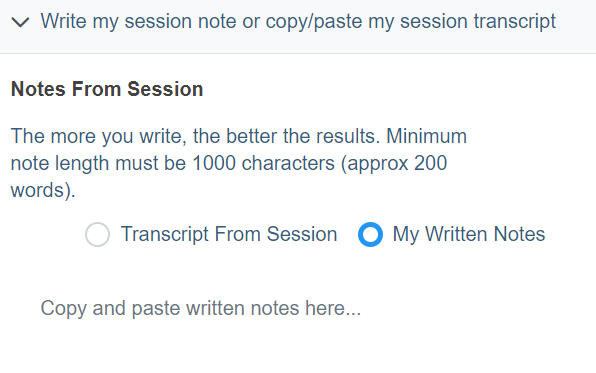
2. If you have a transcript or other typed notes from a different source, select the option for the type and paste them directly in SessionAid.
Note: There is a minimum 1000 character count to ensure there is enough data for note generation.
3. Hit Save and Submit at the bottom when you are done. Make sure to wait until it has completed uploading before leaving the page.
Telehealth & Other Audio Recordings
Note: If your Telehealth platform doesn't have an option to record audio or download a transcript, read about other options in the Alternative Telehealth Session Recording section.
1. While using your HIPAA compliant telehealth platform, you will need to record the session and then download the audio or transcript from your telehealth platform.Each platform handles audio recordings and transcription differently. Some only have text transcripts, some audio files and transcripts If you need guidance on your particular situation, feel free to reach out.Click for Zoom Instructions
Click for Google Meet InstructionsImportant: SessionAid can’t process video files, only audio or text transcriptions.
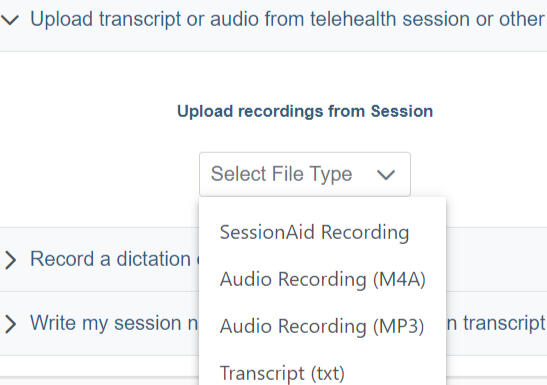
2. Once you have your file saved from your session, select the "Upload transcript or audio from telehealth session or other source” from the "How Do You Want to Capture the Session?" menu and pick the type of audio file or transcript text file you have downloaded.Note: For transcripts from telehealth platforms to work in SessionAid the file format needs to be a TXT file. For instructions on how to convert your file to a TXT Click here
Note: For text transcripts, you may want to do a quick scan before uploading to make sure there aren’t any big errors. SessionAid is only as good as the quality of the transcript.
3. You can either use the "Choose" button to upload your file or just drag and drop into the box below. Press the "Upload" button when you see the file name below the buttons.
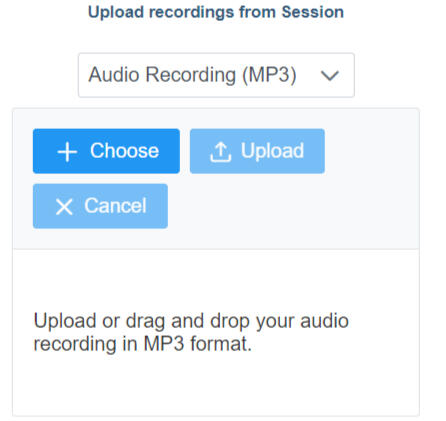
4. Wait for the file to upload. Make sure to stay on this page until “Please do not close this page...” is no longer displayed on your screen.

5. Once the file is successfully uploaded you will see it says processing at the top of the page now. can leave this page and you will be notified by email when it's ready.*TIP: You can start a new session even before this upload has completed processing. *

Here is a list of audio file types we currently support for uploading:
-SessionAid Recording (If you are recording a session and the internet connection drops, it will store it to your recording device.)
-M4A (Audio files format for Mac/iOS devices)
-MP3 (Another standard audio file format)
If you don’t know your file type follow these instructions:
Mac
1. Select the file.
2. Choose File – Get info
3. Find “Names and Extension” and expand it by selecting the arrow
4. Deselect Hide Extension
5. In the Properties window you should see the file type nowWindows
1. Go to the search on your taskbar and enter “file explorer”
2. Under View, go to Show/hide
3. Check (or select depending on your version) File name extensions
Using Zoom for Transcripts or Audio Recording
Note: Both links below will take you directly to Zoom's website.
Directions on how to enable transcription for uploading to SessionAid when it is readyDirections on how to record Audio directly in Zoom for uploading to SessionAid when the audio file is ready
Using Google Meet for Transcripts
Note: Link below will take you directly to Google's Meet support site.
Directions on how to enable transcription for uploading to SessionAid when it is readyGoogle Meet currently doesn’t have an audio only record feature and SessionAid doesn’t support video, so audio uploads are not an option for Meet.
How to Use TXT Files for Transcript Uploads
In order to upload transcripts from telehealth sessions or notes you have typed, they will need to be in a TXT format. (TXT is a common file type that is used for text files.)The easiest way to this is open the file you want to work with in a text editing software. (Note: Often for telehealth the transcript will be a VTT file.)
For Mac:
1. Open Textedit by clicking your hard drive icon and then open the applications folder. You should see it in there or you may need to do a search.
2. Open the transcript you saved from your session.
3. Click File then Save As and select TXT as the file type.
For Windows:
1. Open Notepad. Easiest thing is do a search in your Windows search bar in your taskbar or the Windows Logo key + S
2. Open the transcript or notes you saved in Notepad.
3. Click File then Save As and select TXT as the file type.
Telehealth Recording If No Download Option
If you are unable to download the audio or transcript from your Telehealth platform, here is an alternative way to record the audio in order to create a file that can be uploaded to SessionAid.
For Windows:
1. There is a built-in audio recorder to Windows that can be used to record the audio from your session. If your system is updated you should be able to find it by searching Sound Recorder. (On older versions of Windows, it was called Voice Recorder.)
2.To use Sound Recorder, you will need to enable a built-in Windows sound setting called "Stereo Mix". The instructions can vary depending on your setup, but the easiest thing is to search the internet for "Enable Stereo Mix instructions" and look for your Windows situation. (It's a slight tad tricky the first time, but easy once you do it a couple times.)
3. Once you have Stereo Mix enabled, just hit the record button in the Sound Recorder application when you are ready to begin your session.
4. When you are done with the session, hit stop and it will automatically save it locally to your computer. Right click the file on the left side of the recorder application and choose "Show in folder". That will open up the location of the saved file. (It is saved as a .m4a file type.)
5. You are now ready to upload the file to SessionAid. Click for help on uploading your .m4a audio file to SessionAid
For Mac:
Ensure your computer is set up for screen recording. For detailed instructions on using screen capture on a Mac, visit Apple's Support Site. This Apple guide is what is used below.
1. Create a Dedicated Folder
Organize your recordings by creating a folder. (e.g., "SessionAid Sessions" to store all telehealth recordings.)
2. Initiate Screen Capture
-Press Shift + Command + 5 on your keyboard to bring up the screen capture options.
-Choose the Record Screen Option. Also, You have the option to record just a portion of your screen.
-Click on the "Options" button to select your preferred save location, ideally the folder you created in step 1.
3. Start and Stop Recording
Click "Record" to begin capturing your telehealth session. To stop recording, click the "Stop Recording" button.
Note: If the button isn't visible, press Shift + Command + 5 again, and the option will appear.
After Recording Follow These Steps:
4. Access and Export Audio
-Navigate to your recording's storage location.
-Open the screen recording with QuickTime Player (Double clicking the recording should open it in QuickPlayer).
-Use the "Export" function to save the file as "Audio Only." Choose your "SessionAid Sessions" folder as the save location. The file will be saved in .m4a file type.
5. You are now ready to upload the file to SessionAid. Click for help on uploading your .m4a audio file to SessionAid
Summary and Transcript
1. After the transcription is completed you will be notified by email.
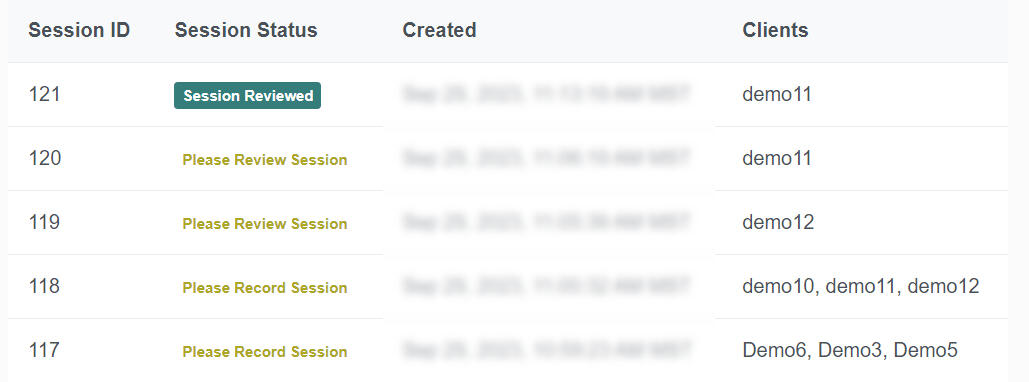
2. To see the notes for your completed session, select from session list on the main page.

3. On the next screen, the summary will automatically be generated on the left side and you will have the option to generate other notes to the right.
Tip: If you'd like to edit the summary note, go to the right column and select "Summary".
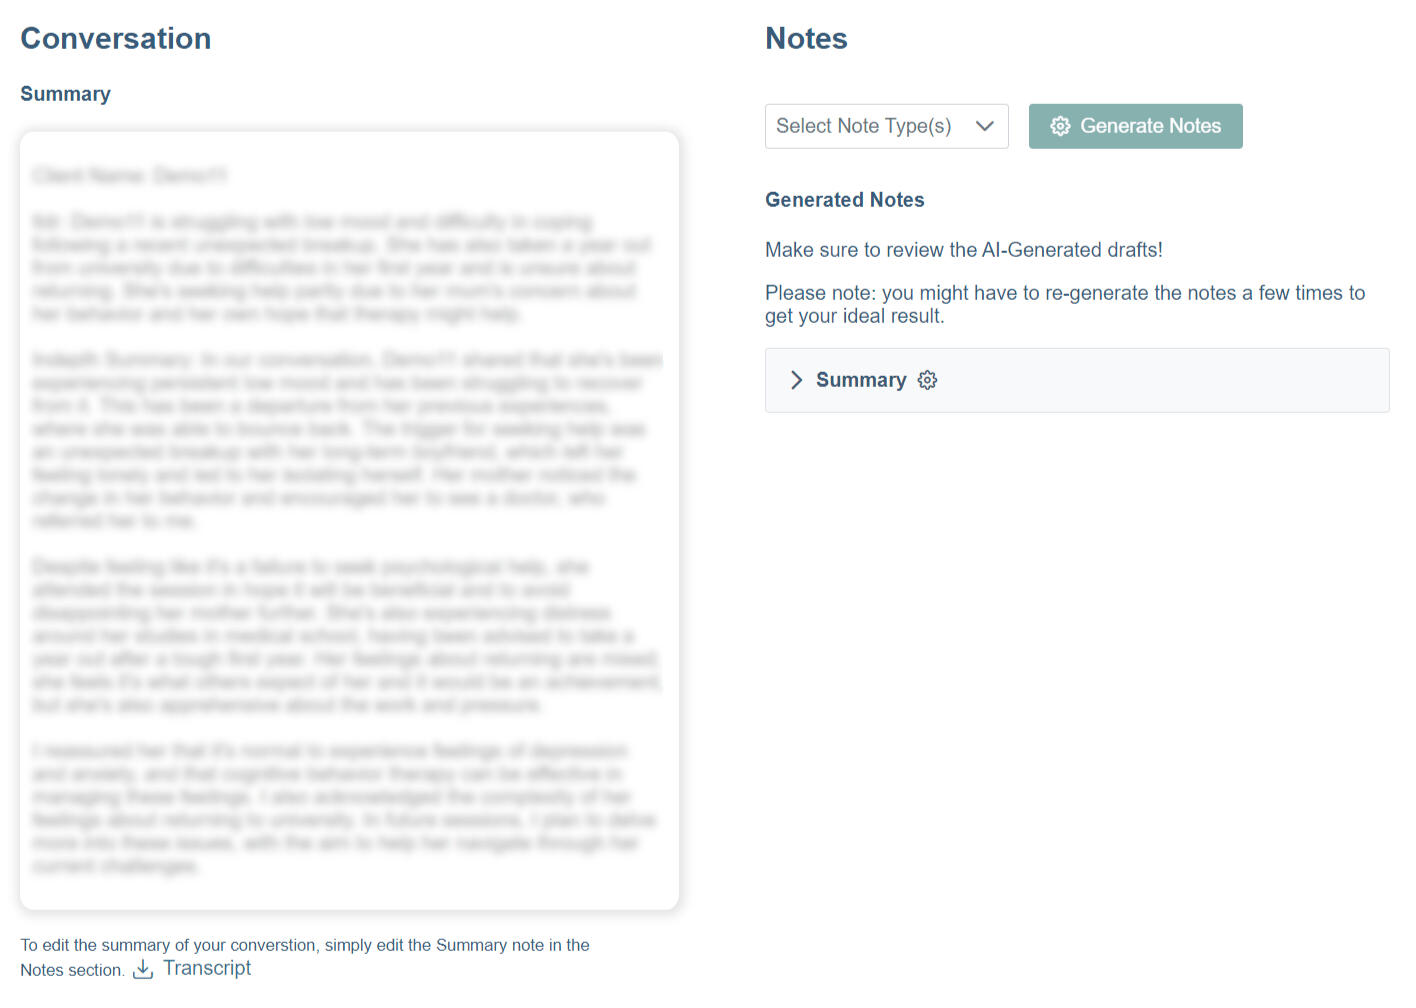
4. A link to download the transcript for your records is available at the bottom of the page.

Generating Notes
After the transcript has been reviewed and saved, it’s time to start generating your notes.
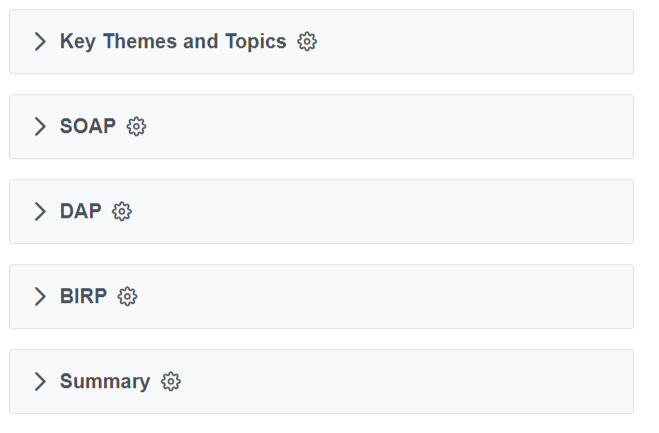
1. First, select “Select Note Types” and pick which ones you would like to create.
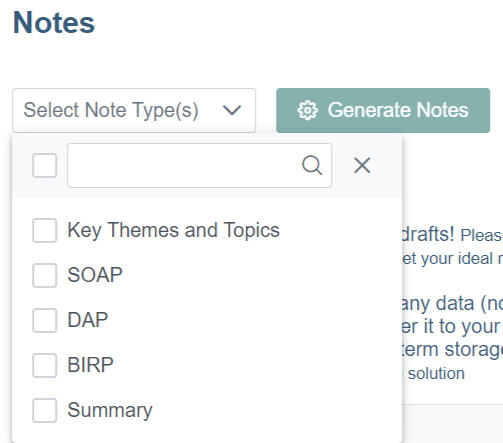
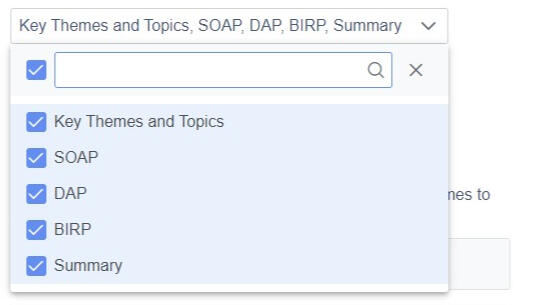
TIP: If you would like them all just click the top checkbox and it selects everything.
2. Select Generate Selected Notes
3. SessionAid will then begin generating the notes, you will see a message when it’s complete. (You can leave this page while it’s processing if you’d like.)
4. When complete, you will see a box appear with the draft content of the note in each one. Edit any note directly in the box. You can always open or close the note by clicking the arrow next to the note name.
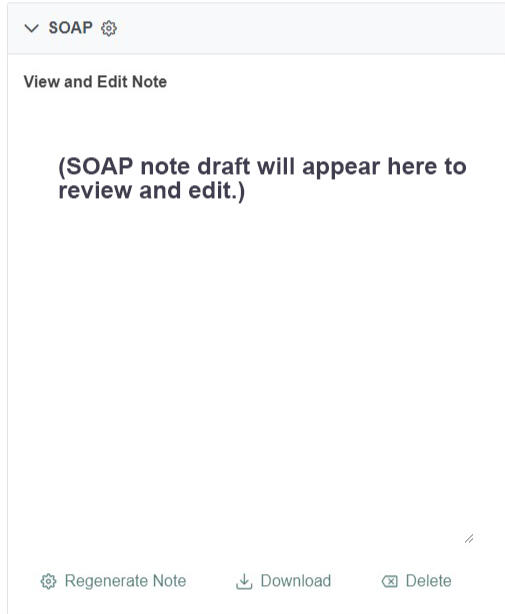
5. IMPORTANT: After you complete your editing make sure you click "Save Note" at the bottom of the window or your edits will be lost. This needs to be done for all notes individually.
5. Once you have reviewed and edited the notes, you can download or copy and paste the notes directly into your EHR or your where you save your records. .*Note: While your notes will stay on SessionAid's servers until you delete them, or you no longer have an account with us, currently, we are not designed as a long-term storage system. (Full details are in our Terms of Services, a link can be found in the Account section when you login.)
Here’s a cool feature to try: If you aren’t satisfied with the note, go ahead and request another version with the Regenerate Note option. This will allow SessionAid to reanalyze the transcript and generate another note.Feel free to add any notes (observations etc.) in the "My Notes" section as well at the bottom.
Transferring Notes to Your EHR
You have 3 ways to transfer notes, you can cut and paste the notes you’d like to keep, click the download button which is at the bottom of each note box or download all data for a client at once.
1. Copy/Cut and Paste
Just like any working with a document, you can copy or cut the notes straight from their respective boxes and paste them straight into your EHR or storage platform.
2. Download from a Session
At the bottom of each note box there is a download button that will download that specific note. For transcripts there is also a "Download Transcript" button at the bottom of the main Summary page as well.

3. Download All Data from a Client
If you'd like to download every session's data (transcript and all notes) for a particular client, click to view those specific directions.
Accessing Previous Sessions
If you would like to review notes from prior sessions, just select any session from the list on the main page of SessionAid.

Downloading A Client's Data
Note: If you are looking to download a particular session's data, please click here for instructions
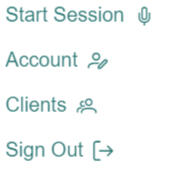
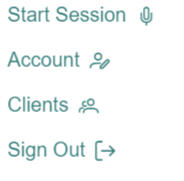
1. Click on the 3 Lines at the top left of your screen
2. Click "Clients"
3. Select "Download Client Data". This will automatically download a zip file of all of your client's data (transcripts and notes) organized by session.

Deleting Notes
ONCE YOU DELETE A NOTE IT IS NOT REVERSIBLE. PLEASE MAKE SURE YOU HAVE DOWNLOADED OR COPIED THE NOTE(S) YOU ARE DELETING FOR YOUR RECORDS. FOR FULL DELETION INFORMATION PLEASE REFER TO OUR TERMS OF SERVICES AND SUPPORT INFO ON DATA DELETION.
Note: Currently the only way to delete a transcript is to delete the entire session. Click for instructions on deleting a session.
1. Click the session of the note(s) you want to delete.
2. Select the note you want to delete. (Click the type to view the note.)
3. At the bottom of the note select "Delete" and confirm you want it deleted.


Deleting Sessions
ONCE YOU DELETE A SESSION, IT IS NOT REVERSIBLE. ALL SESSION DATA, INCLUDING THE TRANSCRIPT AND GENERATED NOTES WILL BE DELETED. PLEASE MAKE SURE YOU HAVE DOWNLOADED OR COPIED ALL DATA YOU NEED FOR YOUR RECORDS. FOR FULL DELETION INFORMATION PLEASE REFER TO OUR TERMS OF SERVICES AND SUPPORT INFO ON DATA DELETION.
For directions on downloading a transcript click this link and go to step 4.Note: Currently the only way to delete a transcript is to delete the entire session.
1. Go the main page that lists all you sessions. This will be the default when you login or you can click the SessionAid logo in the top left to be taken there.
2. Click the session you want to delete.

3. Under the green "View Notes" button select "Delete Session"
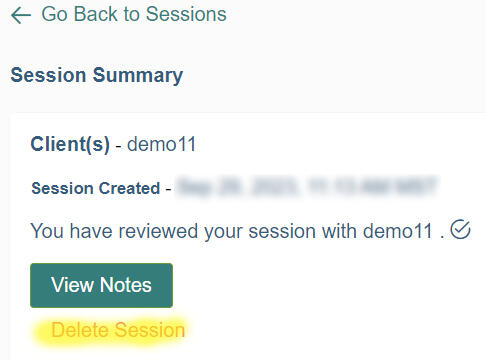
4. Confirm you are ready to delete the session. Remember, this can't be reversed.

Deleting Clients
ONCE YOU DELETE A CLIENT, IT IS NOT REVERSIBLE. ALL CLIENT DATA, INCLUDING THE TRANSCRIPT AND GENERATED NOTES FOR ALL SESSIONS WILL BE DELETED. PLEASE MAKE SURE YOU HAVE DOWNLOADED OR COPIED ALL DATA YOU NEED FOR YOUR RECORDS. FOR FULL DELETION INFORMATION PLEASE REFER TO OUR TERMS OF SERVICES AND SUPPORT INFO ON DATA DELETION.
1. Click on the 3 Lines at the top left of your screen

2. Click "Clients"

3. Select "Download Client Data" if you haven't done so already and need it for your records. This will automatically download a zip file of your Client's data (transcripts and notes) organized by session.
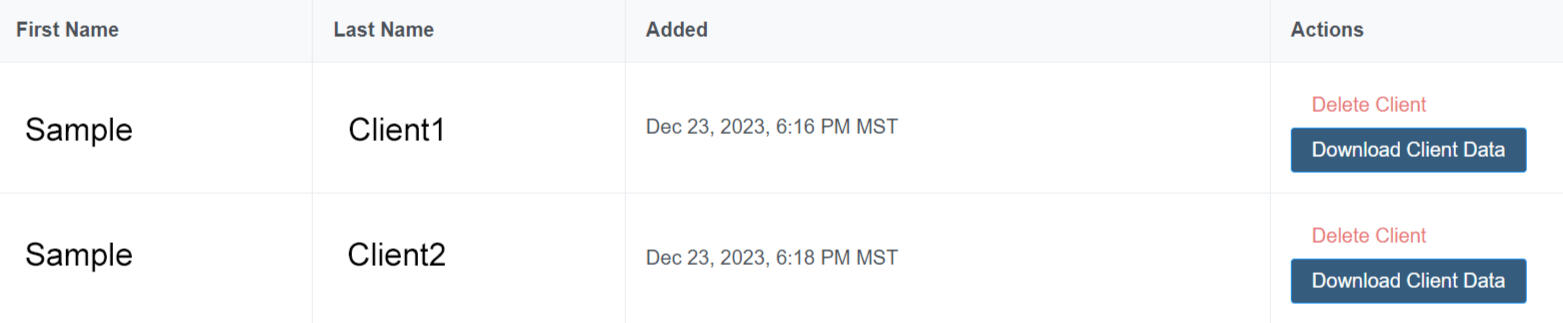
4. To permanently delete a client from SessionAid, select "Delete Client" and you will be asked to confirm this is what you want to do. REMEMBER - THIS IS NOT REVERSIBLE, SO MAKE SURE YOU HAVE ALL OF YOUR DATA DOWNLOADED PRIOR TO DELETION.
Creating Automatic Custom Templates
You will be walked through the auto-generation of creating a custom template in just a few steps. If you would like to upload your own template, type or cut and paste one, please skip to Manually Adding a Template.
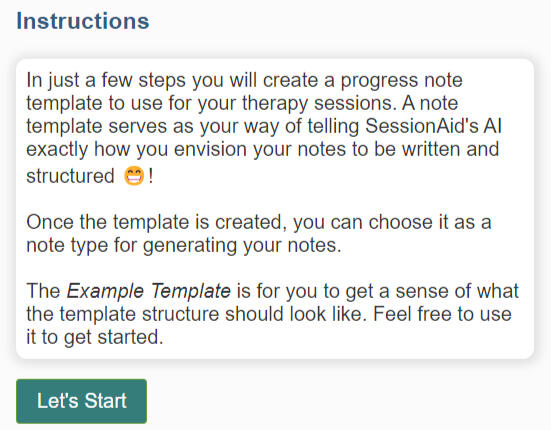
1. In the notes section of a client session, select the Create New Type button

2. Click "Let's Start"
Notice there is also an example template on this page you can copy if you'd like to use this as a starting point for the next screen.
3. Name Your Template
Enter in any name you'd like, note the 30 character limit, and press next when you are done.

4. Select "Create Automatically"

5. Create Your Guidelines
Here is where the "AI Magic" starts with your template draft. There are 2 areas you can help the AI to create your template draft.
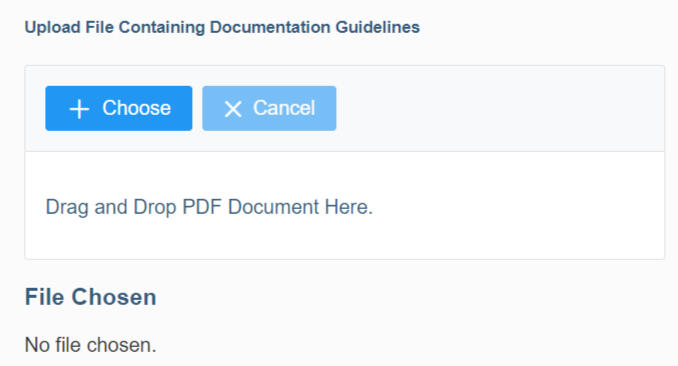
a) On the left you have the option to upload specific guidelines. These need to be in PDF format, so if they are in a different file type, you will need to convert it to PDF first.
Select "Choose" to pick your file or Drag and Drop it. The file will automatically upload when you hit Next.
Note: Anything you upload stays in your account. It can't be accessed by anyone else and is only used for creating your custom templates.
b) You also can give SessionAid more information about the specific template you are looking to have it create on the right side.
Feel free to copy and paste or directly type the directions you would like to provide.
Click Next to continue.
Note: You can do any combination of uploading guidelines and typing them, but the more info the better results you will have.

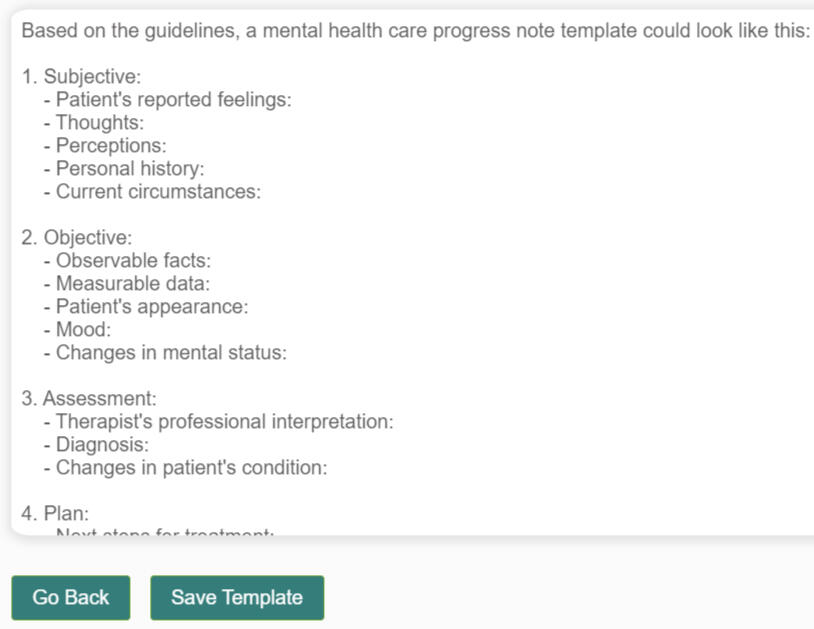
6. Review Your Template Draft
SessionAid will generate a draft based on your guidelines. This can be edited to suit your needs. (In the example below we asked it to do a SOAP note a few details.)
IMPORTANT: Make sure to click SAVE TEMPLATE at the bottom of the page.
7. Using the Template
a) Once saved, you will return to the last session. Click the "Select Note Types" pull down menu and check the box next to the template you created.
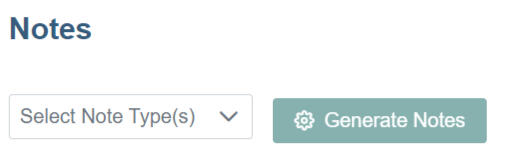
b) Click "Generate Notes" and SessionAid will begin to generate your notes for this session. This template will be available to any of your sessions for all of your clients.
Adding a Manual Custom Template
If you already have a template you would like to use with SessionAid, here are the directions. (If you would like to have an template made automatically, please skip to Creating Automatic Custom Templates.)
1. In the notes section of a client session, select the Create New Type button

2. Click "Let's Start"
Notice there is also an example template on this page you can copy if you'd like to use this as a starting point for the next screen.

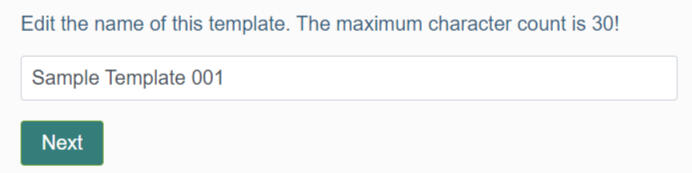
3. Name Your Template
Enter in any name you'd like, note the 30 character limit, and press next when you are done.

4. Select "I'll Type It Myself"

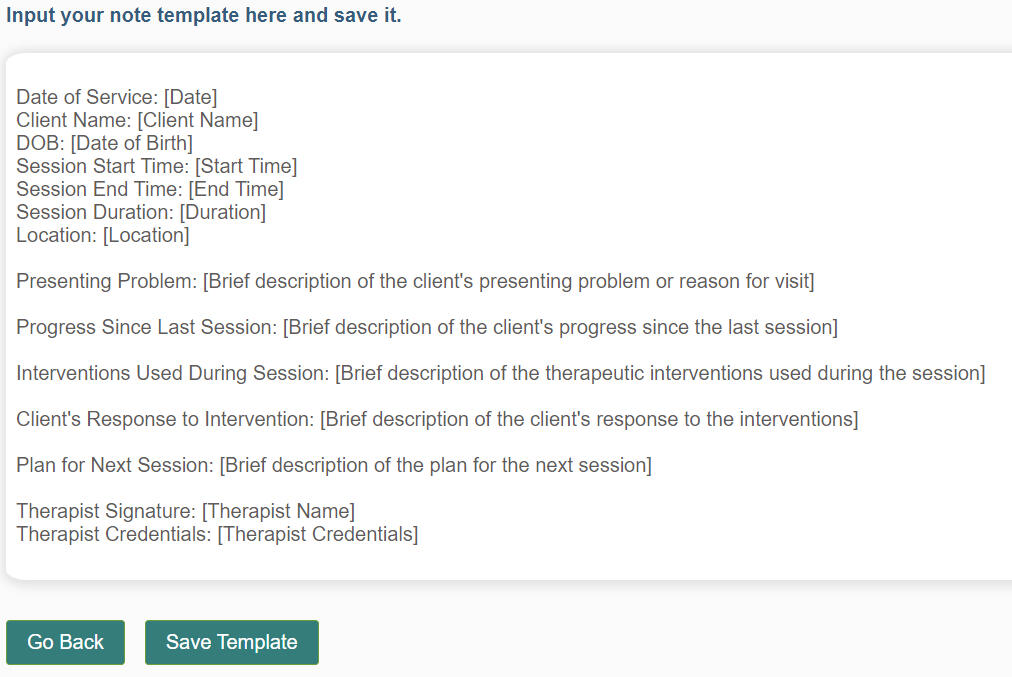
5. Type/Paste Your Template

You have a blank slate on this screen to cut and paste from an existing template you use or type one from scratch. IMPORTANT: Make sure to click SAVE TEMPLATE at the bottom of the page.
6.Using the Template
a) Once saved, you will return to the last session. Click the "Select Note Types" pull down menu and check the box next to the template you created.

b) Click "Generate Notes" and SessionAid will begin to generate your notes for this session. This template will be available to any of your sessions for all of your clients.
Editing a Custom Template
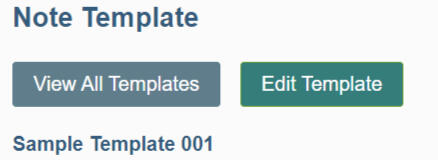
1. Click "My Templates" at the top of your browser

2. : Find the template you want to edit from the list and click "View and Edit Template"

3. Select "Edit Template"
4. If you want to rename it, edit the name and select "Next", otherwise just press "Next"
5. You now have the option to automatically regenerate the template (button at the bottom), upload guidelines or type in your own guidelines on the right. Once complete click Next at the bottom of the page.
6. Review the latest template draft and make any edits you need before saving.
IMPORTANT: After editing, make sure to click SAVE TEMPLATE at the bottom of the page.
7. If you edit a template and would like to use the updated version, you will need to go back to your session and regenerate the note using the custom template you edited.
Deleting a Custom Template
**VERY IMPORTANT: A deletion of a template isn't reversible. If you delete a template the only way to see previously generated notes is to download your clients' data from going to Menu-Account-Client in the top left of your account, they will no longer appear where you see notes for a client's session. **
1. Click "My Templates" at the top of your browser

2. Find the template you want to delete from the list and click "Delete Template"

Payment Setup
When you are ready to start your subscription to SessionAid, please click the upgrade button at the top of the page after logging in.This will take you to a page to select your subscription and enter in your payment details. Rest assured, your payment details are secure. We use Stripe, one of the largest payment processors in the world, to manage payments. Once subscribed your account will be credited with the sessions within a few minutes.
How a SessionAid Subscription Works
Once you have begun your paid subscription, you will be charged monthly as long as you keep your account active. You are free to cancel your subscription subject to our Terms of Services.
All Session Credits Are Used Up
If you have used all the credits in your plan level prior to them resetting the next month, you can upgrade your plan by selecting the upgrade button when you are logged in. (If you are on the highest tier plan and need more sessions, please reach out to support.)
Canceling Your Subscription
We hate to see you go, but we understand if you need to cancel your subscription. Please note: Session credits you already have will still be available for use through the end of your billing cycle if you cancel.1. Click on the 3 lines in the top left corner when logged in to SessionAid and select Account.

2. Click Manage Your Subscription near the bottom of the page.
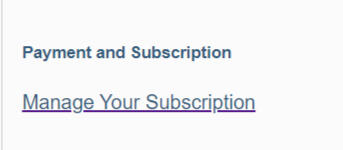
3. You will be taken Stripe, our secure payment processor and one of the largest in the world, where you can manage your account. Simply select Cancel Plan and you will be asked to confirm on the next page.
4. If you decide to change your mind (YAY!) you can always get back to the subscription page from the Account menu item, scroll down to Manage Your Subscription, click and select "Renew plan".
HIPAA Compliance & Security
We take your data security extremely seriously. We use a Microsoft service used by many of the largest companies in the world called Azure for processing and storing your data. We have established policies and procedures that spell out a comprehensive plan for data security and follow HIPAA and other best practice guidelines.If you ever would like to review or download your Business Associate Agreement, it is available in the Account Management section (click on the 3 lines in the top left corner of your screen).Beyond the technological safeguards, we also have a robust HIPPA compliancy program we've implemented using an industry leading compliancy company.
Not a Long Term Record Storage Solution
We are not a long term storage solution. While your notes will stay on SessionAid's servers until you delete them, or you no longer have an account with us, currently, we are not designed as a long-term storage system. You can either download your records from SessionAid or simply cut and paste them to your EHR platform or record storage system you use. (Full details are in our Terms of Services which are available when signing up for an account.)
Data Deletion Information
Due to HIPAA compliance and our disaster recovery policies for safeguarding your data, data may not be fully removed from our secure backup system for up to 30 days. For these special backups, Practitioner Data is stored in a special manner and data is not useable in the SessionAid platform once it has been deleted from Practitioner’s account. Note: The audio recording is deleted after 48 hours and then is moved to the backup systems mentioned above.
Tips on Improving Audio Quality
The quality of the transcript is directly going to be impacted by the quality of the audio recording.Here are some tips to get best results:1. For in-person sessions, purchase a omnidirectional conference style microphone. Place it in the middle of the people speaking for best results.2. If you have a large room, or it echoes, you may want to consider using 2 mics inputs with a splitter.3. If you are using a phone or your computer (make sure it follows your HIPAA compliance policies), try to place it in between the people speaking. However, we highly recommend getting a separate mic.
Browsers That Work With SessionAid
SessionAid works on all major browsers. However, we highly recommend using Chrome.
Using SessionAid on Mobile Devices
SessionAid is primarily designed to be used on a laptop or desktop and is not optimized for a mobile device at this time. However, for recording sessions, a mobile device that meets your HIPAA policies will work fine.
The Internet Connection Dropped During a Session
Don't worry, we have you covered. If your internet connection drops during a recording using the SessionAid Recorder your recording will automatically be downloaded to your computer so you don’t lose the session. You can then upload this file to your client session. You will select "SessionAid Recording" as the file type when uploading again.For directions on how to upload the file Click here
SMS Messages Not Arriving
In most cases, these are a result of delivery issues from your cell phone carrier (e.g. the carrier's network is having problems) and are beyond our control. Usually these clear up within minutes to a few hours. If not, contact us and we can look at it closer.
Updating Account Details
To edit your account details, such as update your password or change your 2FA phone number are located in Account Management. This is also where you can get a copy of your BAA if you need it.
1.Click on the 3 Lines at the top left of your screen
2. Select Account

3. Update any changes you need
Closing Your Account
VERY IMPORTANT: ONCE YOU DELETE YOUR ACCOUNT, IT IS NOT REVERSIBLE. ALL SESSION DATA, INCLUDING THE TRANSCRIPTS AND GENERATED NOTES WILL BE DELETED PER OUR TERMS OF SERVICES. PLEASE MAKE SURE YOU HAVE DOWNLOADED OR COPIED ALL DATA YOU NEED FOR YOUR RECORDS.
Click for directions on how to download your client data.
1.Click on the 3 Lines at the top left of your screen

2. Select Account
3. Click Delete Account at the bottom
4. Make sure you read and understand this action is not reversible and you have saved and downloaded all the records you need.
Privacy Policy.
© 2024 SessionAid All rights reserved.